Intarsia Sweater Knitting
Intarsia builds separate areas of color into the knitted fabric. Each area uses its own yarn supply, so a large motif does not need the background yarn carried across its entire reverse. It is a useful starting point for bold logos, argyle patterns and clearly defined color blocks.
The result still depends on the yarn, stitch size and artwork. Fine lettering, many isolated color areas or very small details may need simplification. Compare the construction with jacquard knitting before choosing a technique.
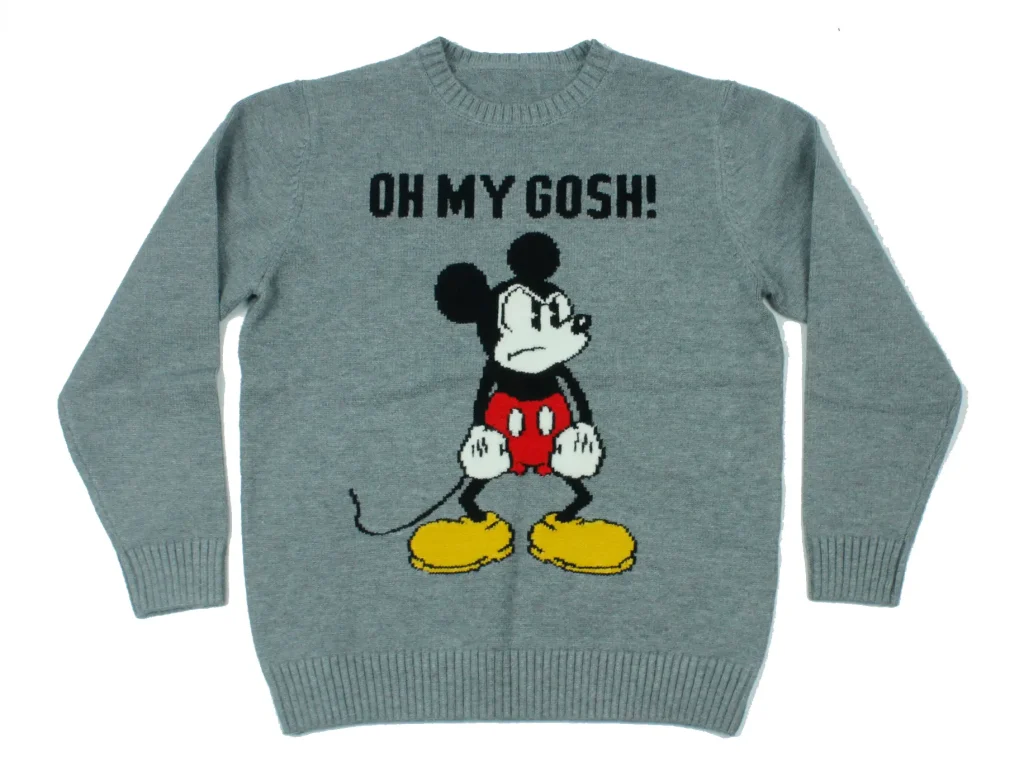
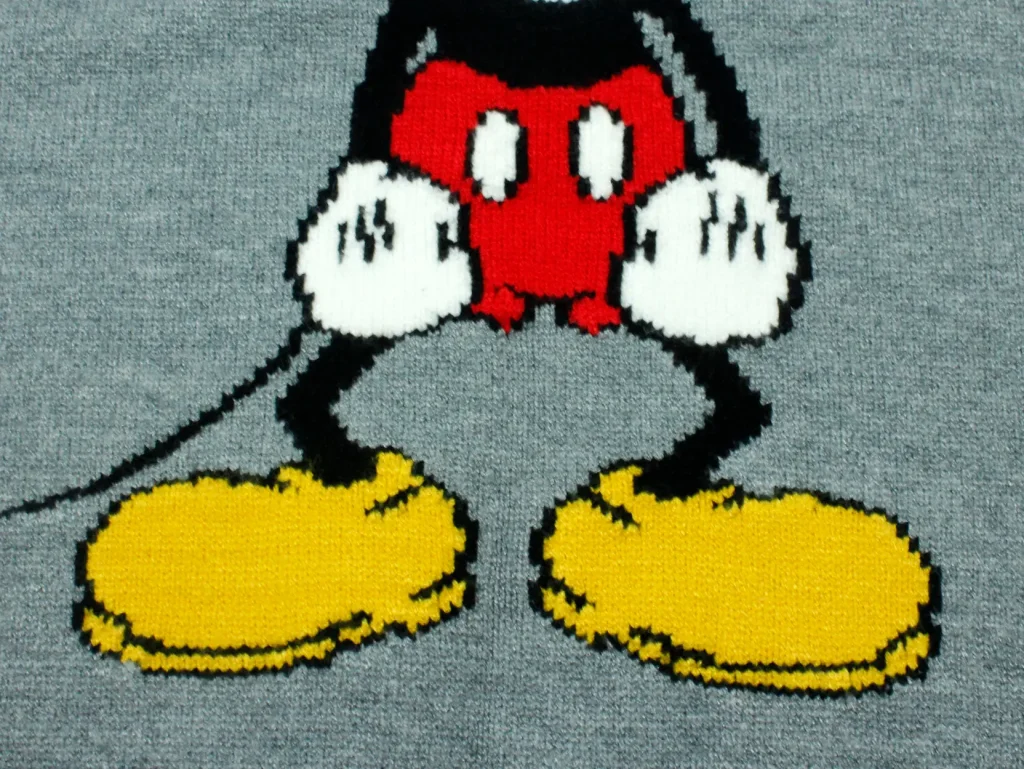
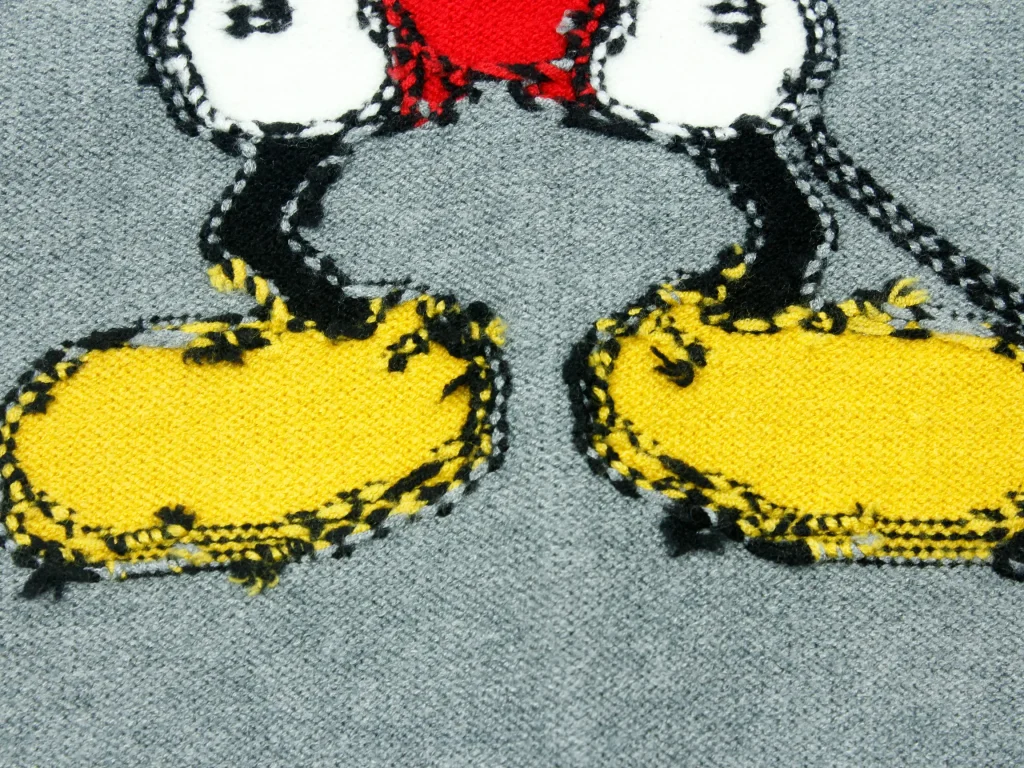
Where Intarsia Works Best
Large color areas: A chest graphic or a few distinct blocks can suit intarsia better than a dense all-over repeat.
Reverse-side construction: Separate color areas can avoid the long carried strands of some stranded patterns. This does not make every intarsia sweater lighter than every jacquard sweater.
Artwork boundaries: Color joins need attention. Review the edges of the motif for gaps, distortion and uneven tension on the knitted sample.
Complexity and cost: More separate yarn areas can add programming and production work. Reducing small disconnected details may improve feasibility.
Fabric choice: Fiber content, yarn thickness and stitch density affect drape and warmth. Choose these for the intended garment rather than from the illustration alone.
From Artwork to an Approved Sample
Prepare the design
- Send front and back artwork, the intended motif dimensions, color references, garment measurements and order quantity.
- Use our sweater tech-pack guide to record details that should stay consistent between the sample and bulk order.
Choose yarn and stitch size
- Discuss cotton, wool, cashmere or blends against your budget, hand feel and care requirements. Confirm the selected composition in the quotation.
Review the knitted artwork
- Check letter clarity, color-area joins and motif proportions at actual garment size.
- A digital mockup is a design reference; approve the knitted result before committing to the final pattern.
Check the finished sample
- Review measurements, seams, hand feel and the reverse side. Agree the required care checks and acceptable measurement tolerances.
Confirm production details
- Record the approved sample, yarn, artwork, size breakdown, labels, packing and delivery requirements together. Explore custom intarsia sweater orders or read our intarsia versus jacquard guide.